WELCOME

CHECK OUT SOME OF MY VIDEOS!
In this video i discuss the basic difference between a steel rim and wheel cap vs Alloy wheel (Mags wheels). Also go over a common problem of vibration after a winter snow storm. Hope this video is helpful.
#hubcaps #alloywheels #automobile
In this video I will go over a few lights on the dashboard closet and explain what they are and what they mean. I will be using my 2011 Honda CRV as an example. This vehicle only has a few of the lights some make and models of vehicle have different systems and may have more lights on the dash. If so I suggest taking the time and look them up in your owners manual. This video shows some of the basic light for beginners.
#dashboard, #cluster, #dashboardlights,
In this video I will go over so tips on what you need to know before you change a flat tire and I will demonstrate how to change a flat tire. Quick note some more recent vehicle no longer have a spare tire, they have been replace by a repair kit. So I would always verify what system you have in your vehicle.
My Tip List:
- Verify if your vehicle is equipped with a lock nut and where is the key located
- Verify if your vehicle has a spare tire and where it is located on the vehicle
- Verify where the jack is located
- Locate the vehicles jacking points
- Be safe and make yourself visible
- Chock your wheels and loosen your lug nuts before you raise the vehicle.
- Verify the tire pressure in the spare tire periodically
In this video I will show you how to replace your spark plugs on a 2016 Honda CRV with a 2.4l engine. I will go over all the steps from removing the coil pack cover to removing the coil packs to remove the spark plugs. This procedure can be used on all 2.0l and 2.4l Honda engines.
#automobile #hondaCRV #sparkplug
Part Plugs Part Number: 12290-5A2-A02
Spark Plugs Gap: 0.035in
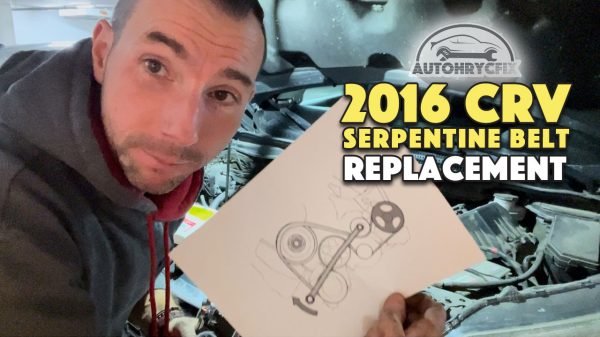
In this video I will show you how to step by step remove and install a Serpentine belt on a 2016 Honda CRV 2.4l non turbo. Also show you which tools you will need to preform this job. #HondaCRV #Serpentinebelt #diy #maintenance
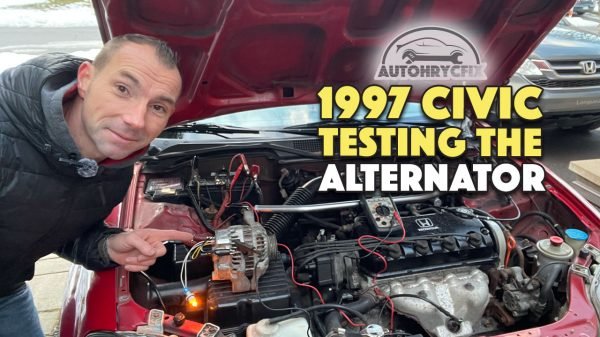
In this video I will show you how to wire up and bench test an alternator to make sure it is properly charging your battery. This is a quick and easy way to verify if you have an old alternator or if you purchased a used alternator.
#automobile #alternator #hondacivic
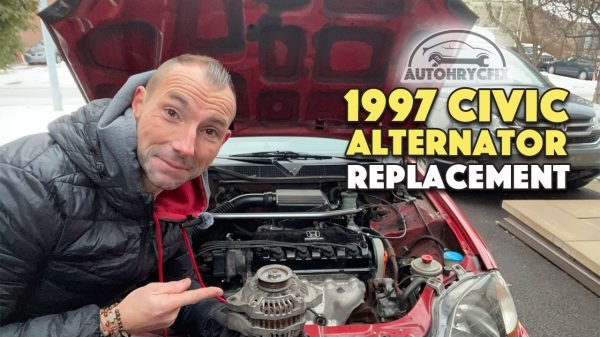
In this video I will show you how to replace an alternator on my 1997 Honda Civic at home. This is the procedure i use to do at the dealership when i was a mechanic at Honda.It seems complicated but there is nothing complicated about it. The same procedure can be used on 1992-2000 Honda Civics. #automobile #hondacivic #alternator
Torque Specs:
Alternator adjustment bolt (upper) : 17 lbf/ft
Alternator through bolt nut ( lower nut) : 33 lbf/ft
Alternator lower mount bracket bolts X2 : 33 lbf/ft
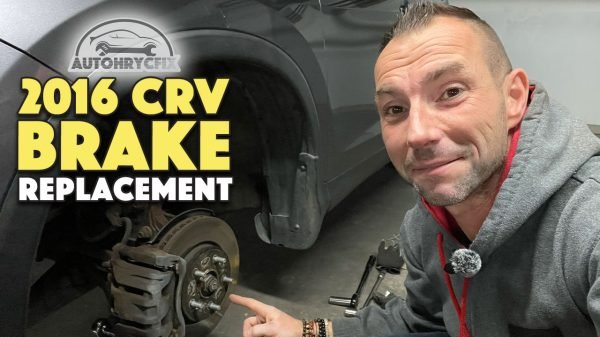
In this video I will showing you how to replace the front and rear pads on a 2016 Honda CRV. This is a pad only replacement. The discs have no rust or grooves and there is no complaint of vibration on the brake pedal. In the case that there is any over the above you may need to replace or reface the disc.
#brakepadreplacement, #hondaCRV, #diy,
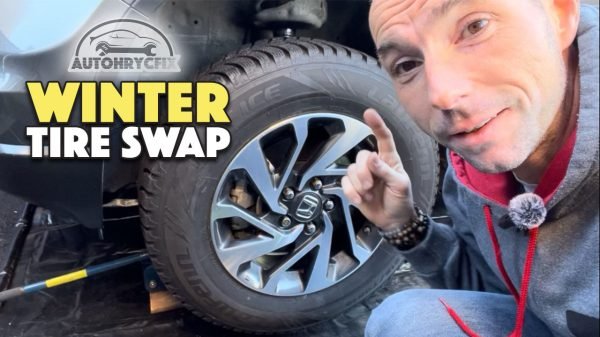
How To Change Your Tires Yourself – Winter/Summer Tire Swap. In this video I’ll show you how to safely put on your Winter tires in the convenience of your home garage. Swapping your 3 season tires for Winter tires can be done with the right safety measures and a few simple tools. It is quite simple and basic. I will be showing you on my 2011 Honda CRV. At the same time we will verify the suspension and the brakes.
In this video I will show you how to replace the oil and the oil filter on your 2011 Honda CRV and reset the oil life indicator. #honda #oilchange #maintanance
In this video I will be replacing the rear differential fluid on my 2011 Honda Crv. This is the same procedure on 2007-2011 models. It is suggested to replace the fluid every 20000km or 15000miles. It is Code 6 which light up on the dash on the maintenance schedule. It is also suggested to replace the fluid if you start to have noise coming form the rear differential. #honda #hondacrv #trending
If the engine on your S2000 is leaking oil around the bolt on the timing chain cover, the seal on that bolt is more than likely worn and needs to replaced. In this video I will show you how to replace the cam sprocket bolt seal.
Luckily, the seal only costs a couple of dollars and takes less than half an hour to replace.
Be careful however, because if this bolt is backed out too much, then the timing chain cover is more than likely going to have to come off and the engine will need to be re-timed.
#hondas2000 #oilleakrepair #s2000
If you’re not comfortable doing this, please bring your car to someone who is capable of doing this.
In the last video I was able to show you where the leak was coming from. I also tried to show you an easy and money saving way to switch the ends of the cv joints and unfortunately it did not work out . So I ordered a new cv axle. In this video I will show you how to replace the axle and how to replace the transmission seal. But not without some complications along the way! You will see!
#Hondacivic #transmissionfluid #mechanic
In this video I will show you where the leak is coming from. Confirm what caused the leak and begin the repairs, but not without some unexpected problems on the way. You will have to watch till the end to see what I mean.
#hondacivic #cvjoint #transmissionfluid
After uncovering that my paint on my front bumper was bubbling and cracked I removed it and sent it to the bodyshop to get re painted. After a couple of days got it back and now I am ready to install it on the S2000. In this video I will show you how to reinstall the front bumper on my Honda S2000. This video is good for the AP1 and Ap2, they have similar removal and reinstall methods. This is very basic, but maybe there’s something that may help in this video. If you like this video please like share and subscribe, you can view other videos with similar content.
In this video I perform an engine oil change on my Honda S2000. The Engine Oil servicing is vital to the long lasting and proper operation of the high revving, 4 cylinder engine that comes in the S2000s. Lack of maintenance can cause premature wear and failure which are not cheap to repair or fix.As simple as this sounds, This is very basic, but maybe there’s something that may help in this video. This video is good for AP1 and AP2 models of the S2000
#s2000, #diy, #hondas2000,
Part number and Torque specs
- Genuine Honda Oil Filter (15400-PCX-306) Torque spec :16 ft-lbs
- Drain plug : 29 ft-lbs
- Oil Capacity: 5.1 quarts 4.8 litres
In this video I will show you how to remove the radiator from the Honda S2000, transfer over the rad fans and remove air from the system. @autohrycfix #hondas2000 #s2knation #radiator
Torque spec:
- Rad support bolts: 8.7 f/lbs
- Temperature sensor: 17 f/lbs
- Rad fan bolts: 5f/lbs
This video I will show you how to remove the front bumpers on a Honda S2000. AP1 and AP2 bumpers are nearly identical in terms of removal, so this should be a guide to all S2000’s. Last week while waxing the car I notice something shocking and in this video I will show you what I found. #s2000 #frontbumperremoval #hondas2000
Undoubtedly, As someone who has been around Hondas for many years,Honda has builds some fantastic vehicles with sporty aspirations. Lucky for us, Honda built a gorgeously timeless convertible with fantastic handling prowess. Did I mention the absolutely screaming power plant (because I will….multiple times) Ever since I laid eyes on it in 2001 when I started working at Honda I knew I needed to get one. Today I am fortunate to share with you my experience of owning a Honda S2000 and I will also discuss a few difference between the AP1 and Ap2. #s2000 #hondas2000 #car
Like everyone who owns or has owned a Honda S2000 I absolutely love this car and I am all for induction kits, but when it comes to the Honda S2000 I heard that there is a free way to get a great mid-way intake volume increase that sits nicely between the standard, muffled intake sound, and the full on roar of an induction kit, I’ve be wanting to do this Mod for a while.So join me as I carry out the famous “box mod” and see if it is actually worth doing in this relatively step by step install video.


